Workbooks
Omni's workbook UI is focused on asking any question of both modeled and un-modeled data in your databases. Each workbook contains one or more tabs, where data can be queried either using a UI-driven pivot-table experience or by writing SQL.
The URL will update with each user action, allowing easy back and forward motions in your browser, and instant shareability of results (across all of the tabs in your workbook). The URL is structured such that each tab is encoded individually, for easy portability. The URL structure will contain a reference to each tab, and a final reference to the active tab.
Here is an example:

Tabs can be renamed for additional organization. Moving tabs is coming soon.
Saving a Workbook
Workbooks can optionally be named and saved. When a workbook is saved, it will appear alongisde other dashboards and workbooks in the content system.
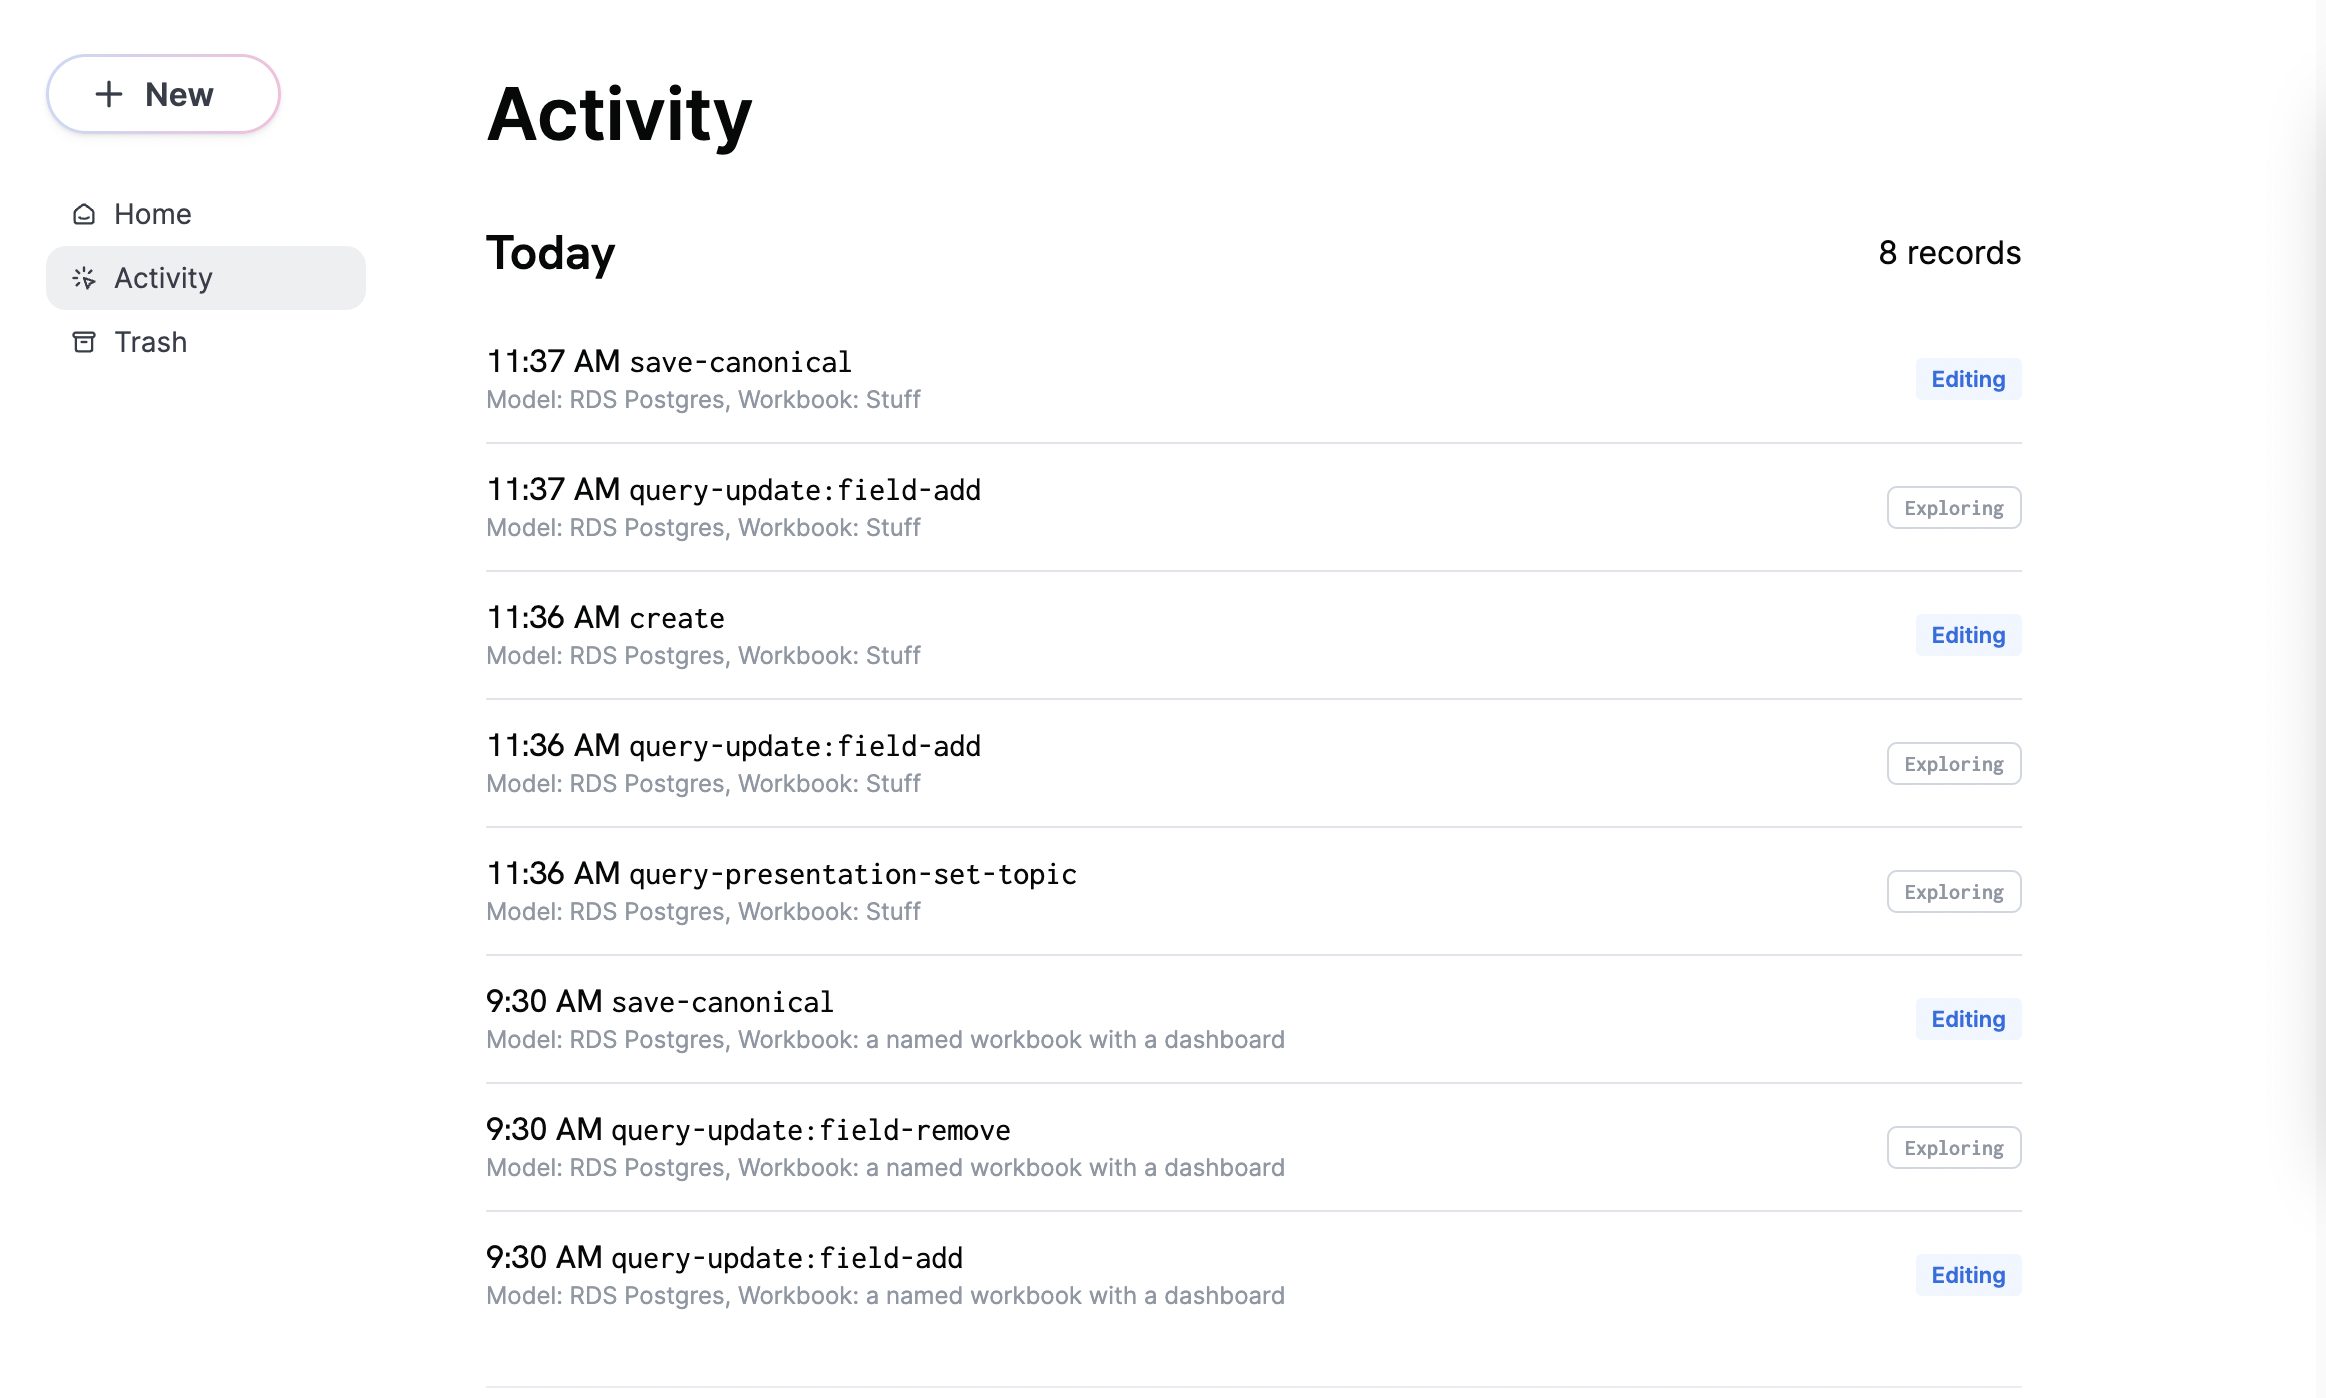
If a workbook is not saved, you can still return to that analysis by searching for it in the Activity section, or via URL. The Activity page logs all of your activity, whether on saved or unsaved workbooks.
Workbook Modes (Viewing vs Editing)
A workbook can be in either View or Edit mode.
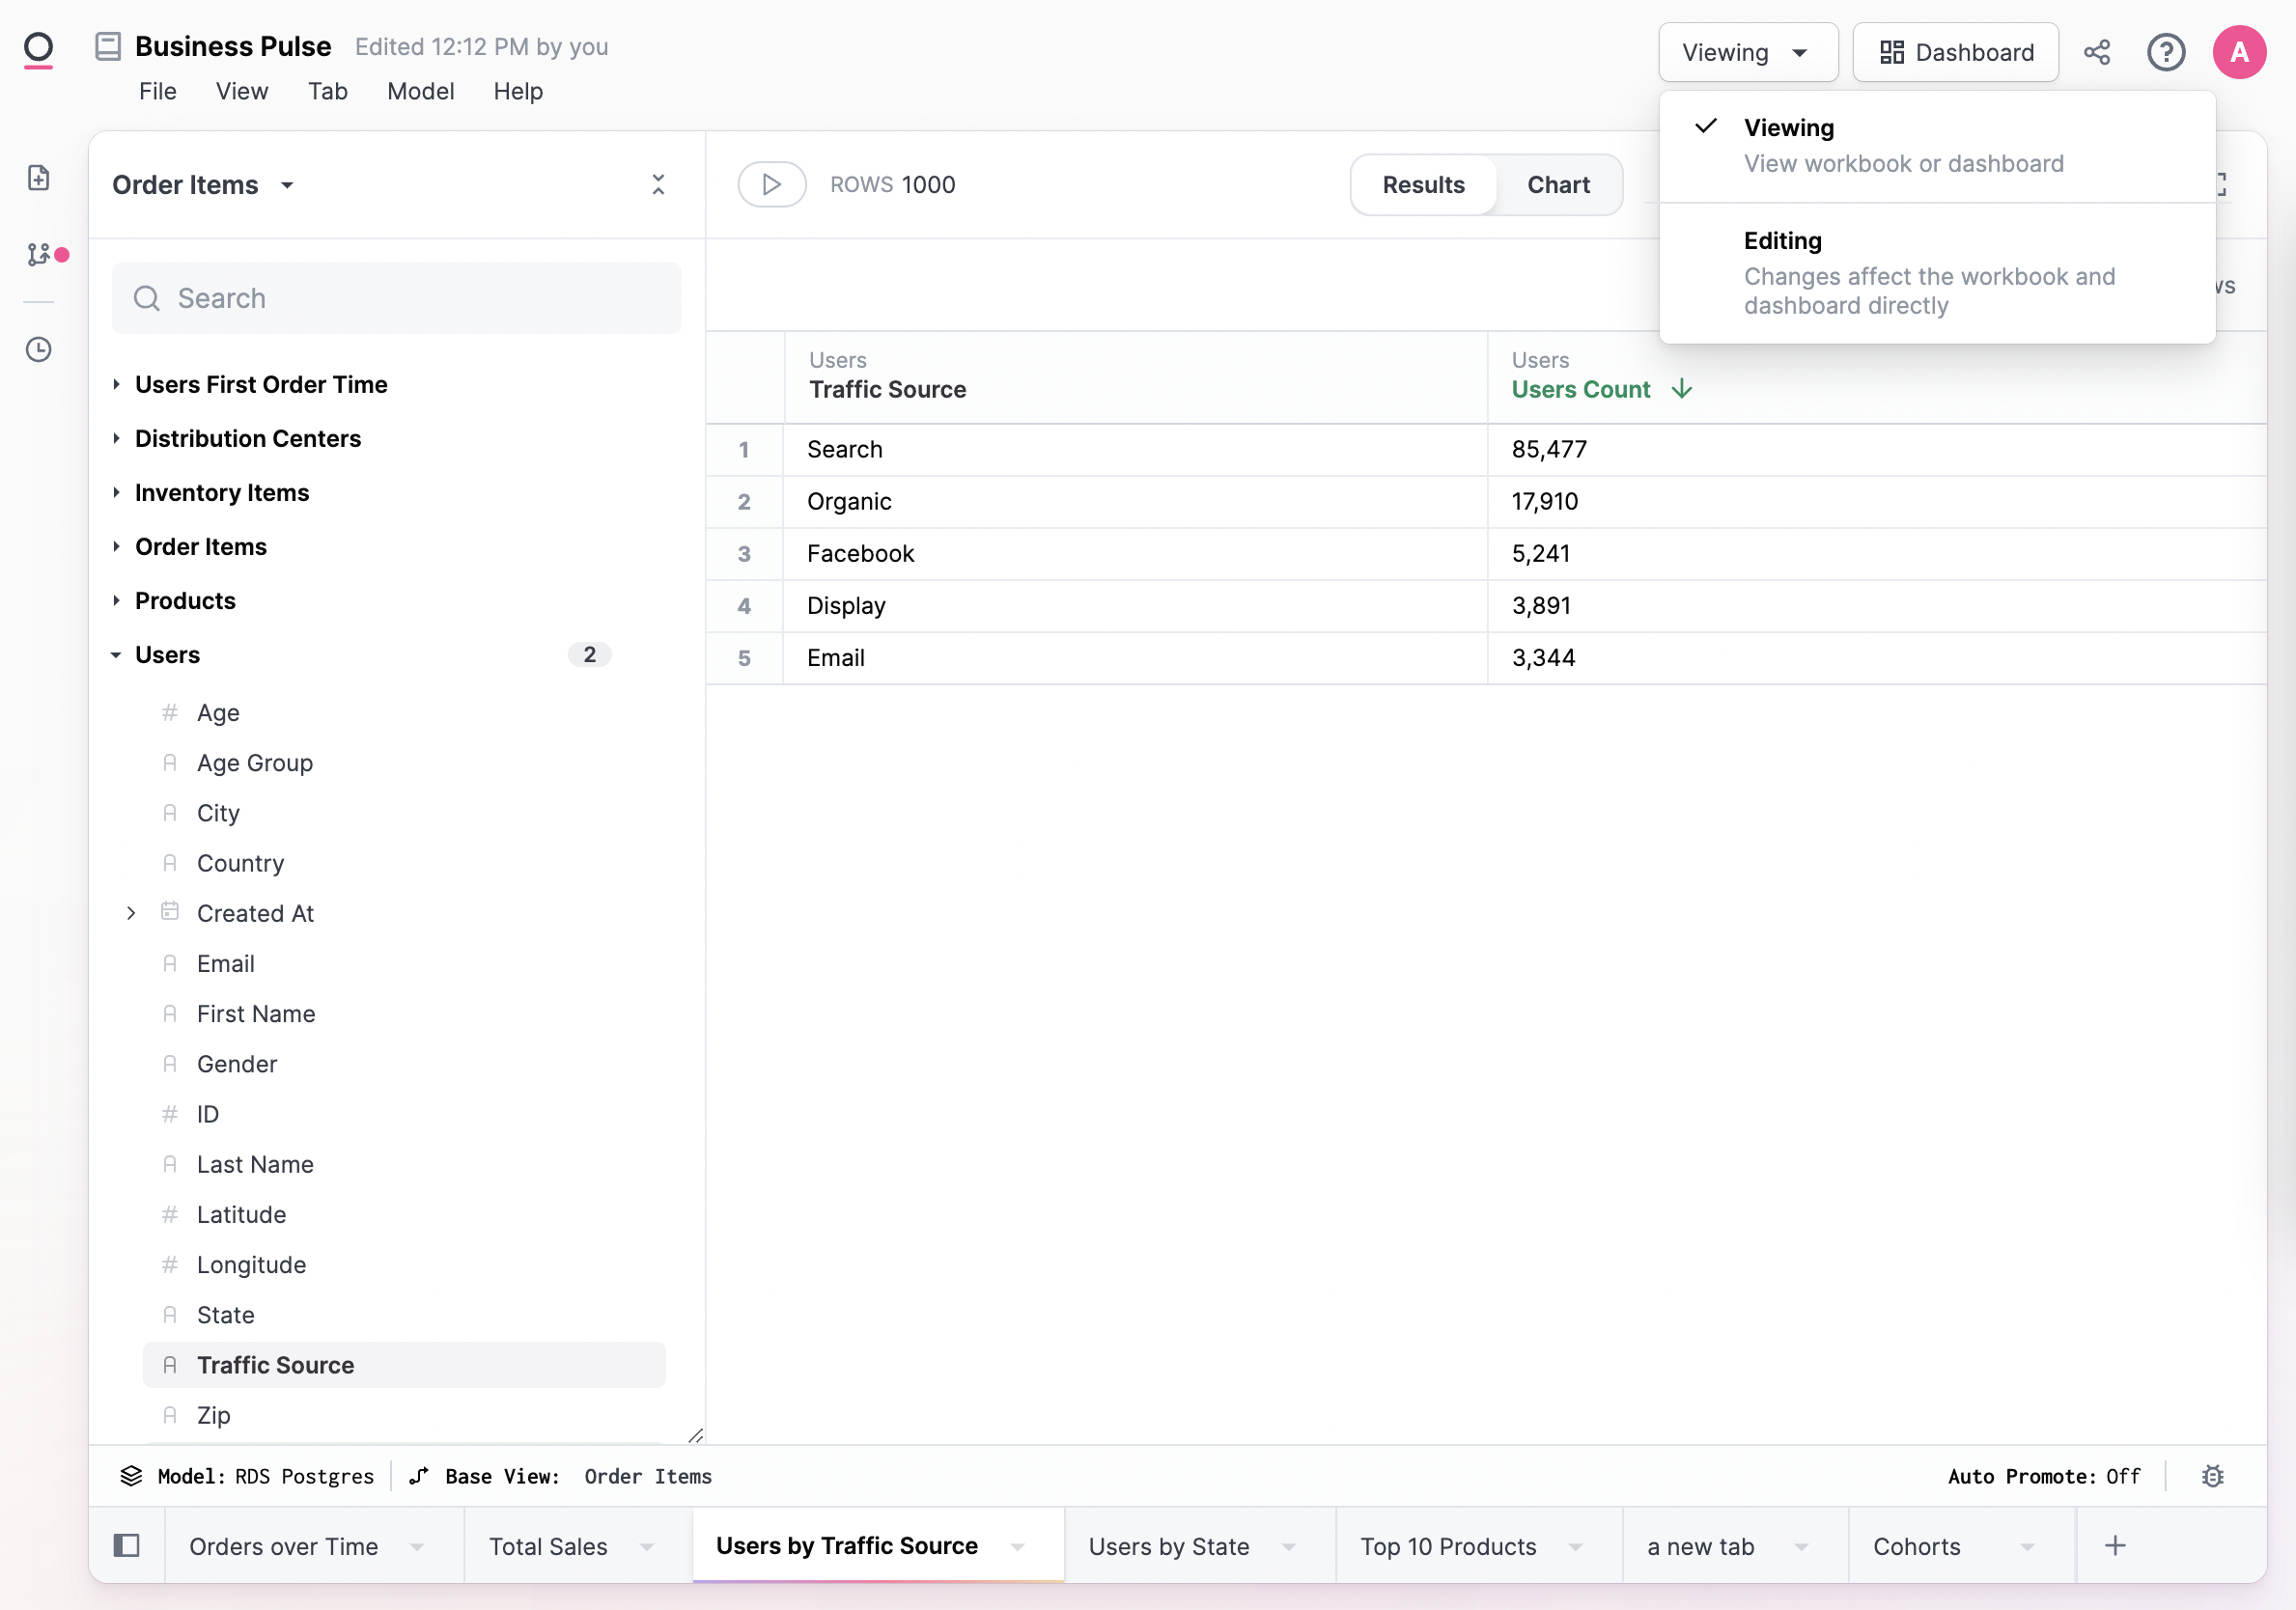
When viewing, you are looking at the latest saved version of the workbook.
When editing, you are changing the workbook and changes will auto-save as you go. Changes made in edit mode will also impact the dashboard that is attached to the workbook.
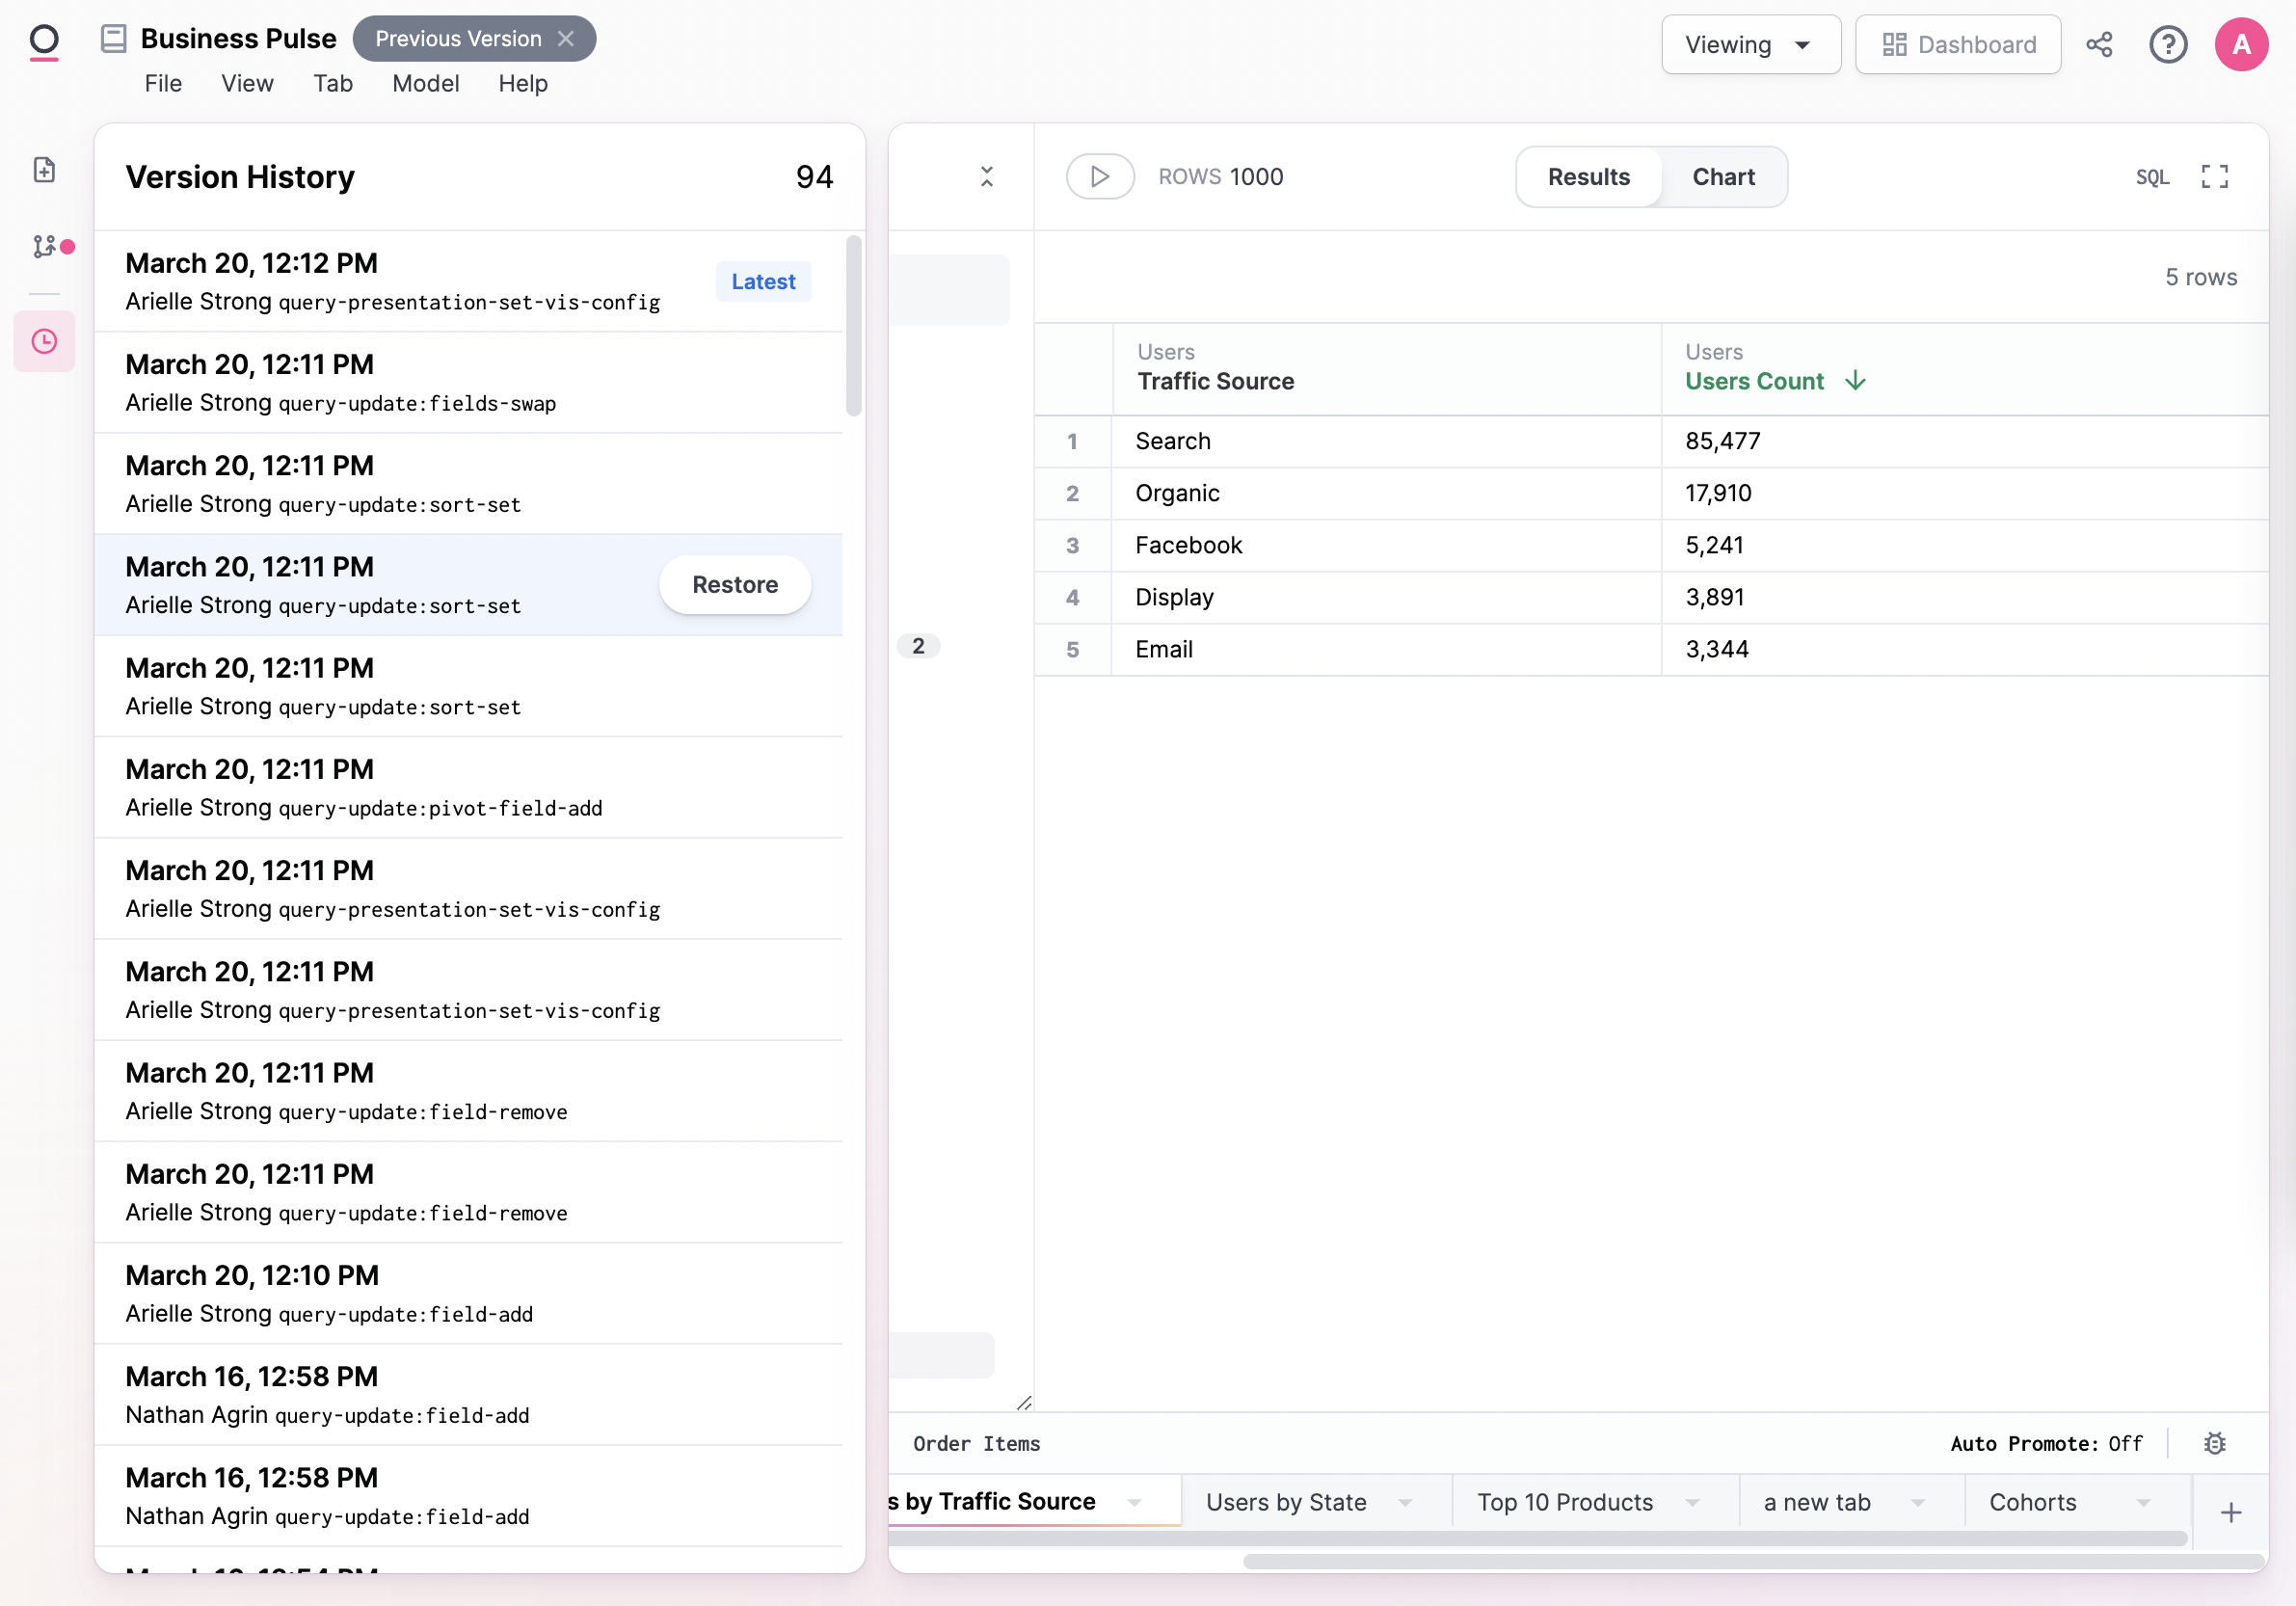
You can see a history of all changes made by you or others by opening up the Version History panel, and optionally restore a previous version. Note that only changes to the workbook are currently shown. Changes to the workbook model must be viewed from the IDE, and changes to the dashboard layout are not currently visible.
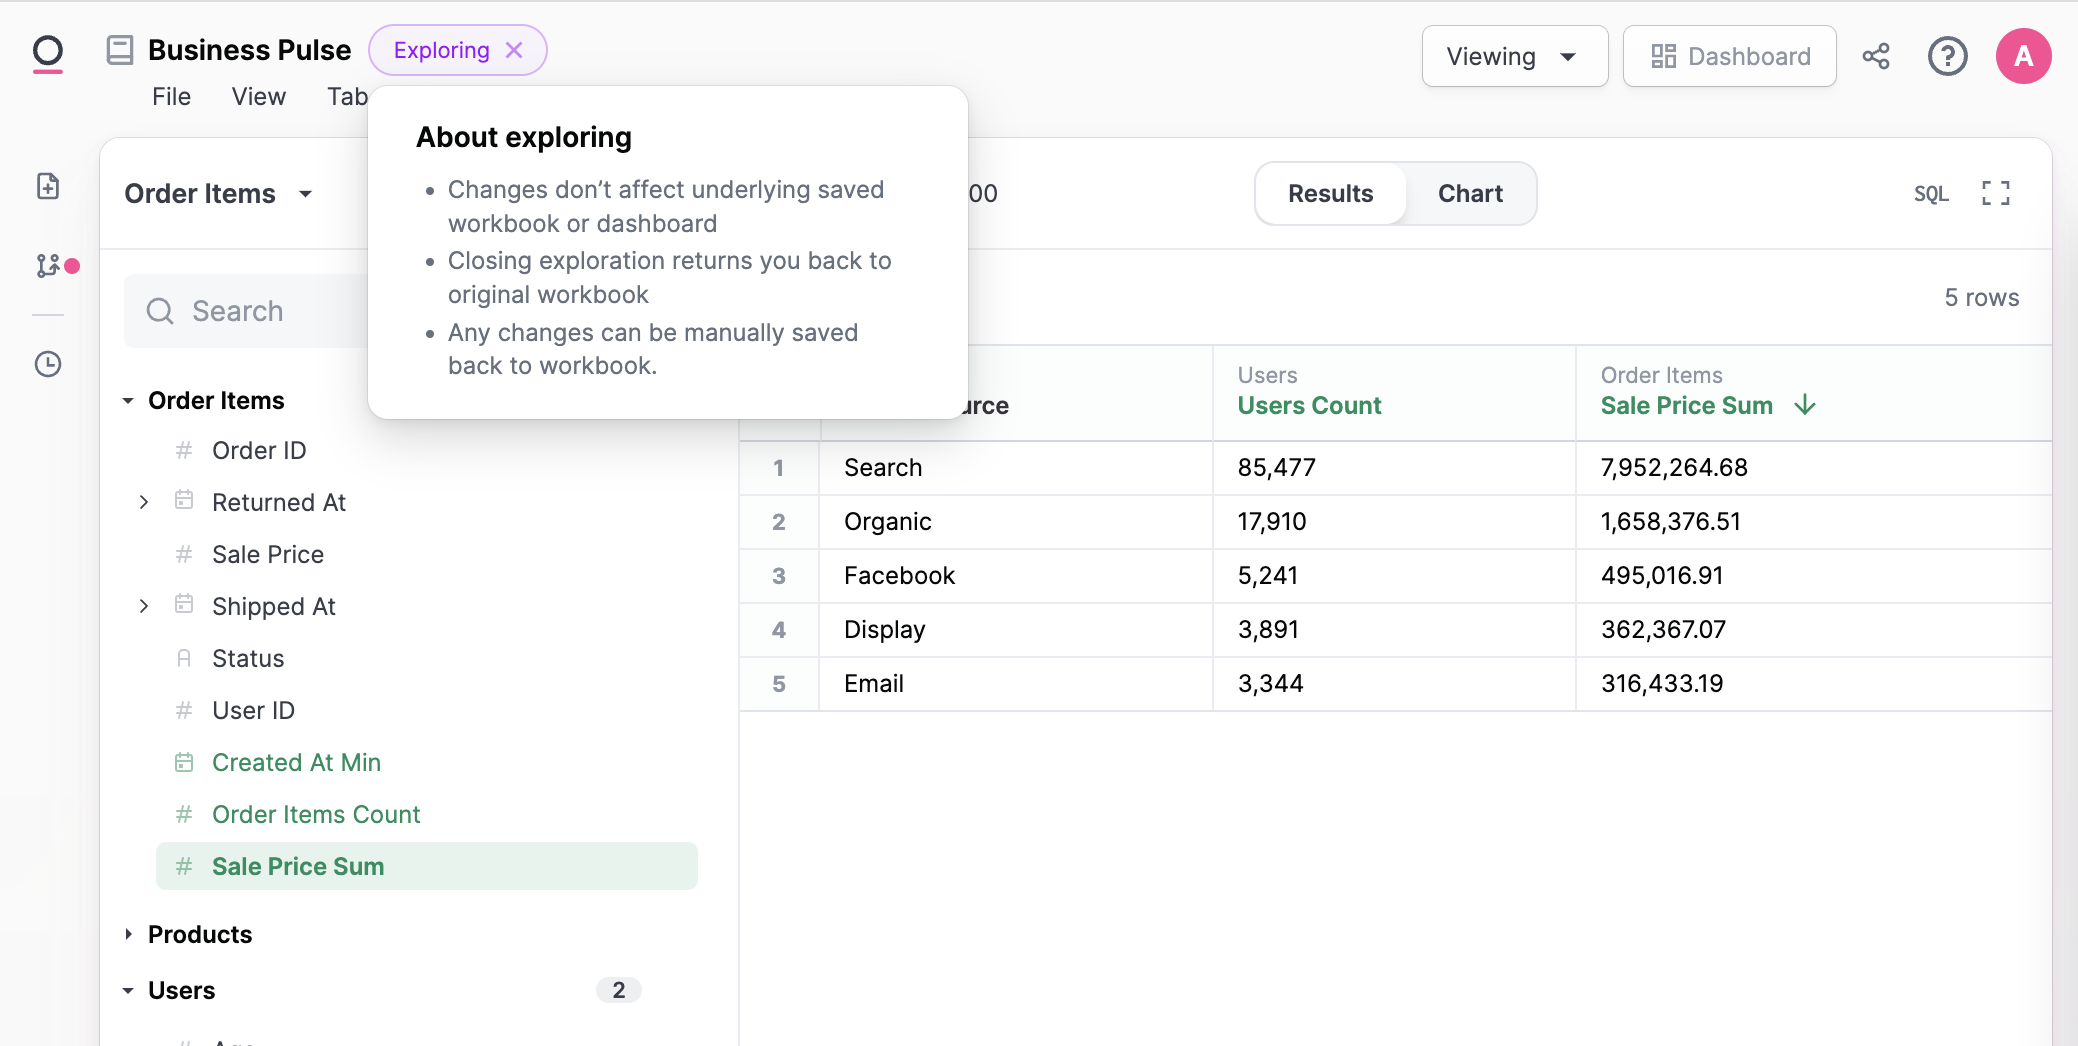
Exploring a Workbook
Sometimes you may want to explore or iterate on an analysis without impacting the saved version. From view mode, you can start interacting with the workbook to jump into an exploration.
While exploring, changes are not saved and you can exit the exploration to go back to the latest version of the workbook.
Explorations are represented in the URL, so the exploration can be shared by simply copy/pasting the URL to another user.
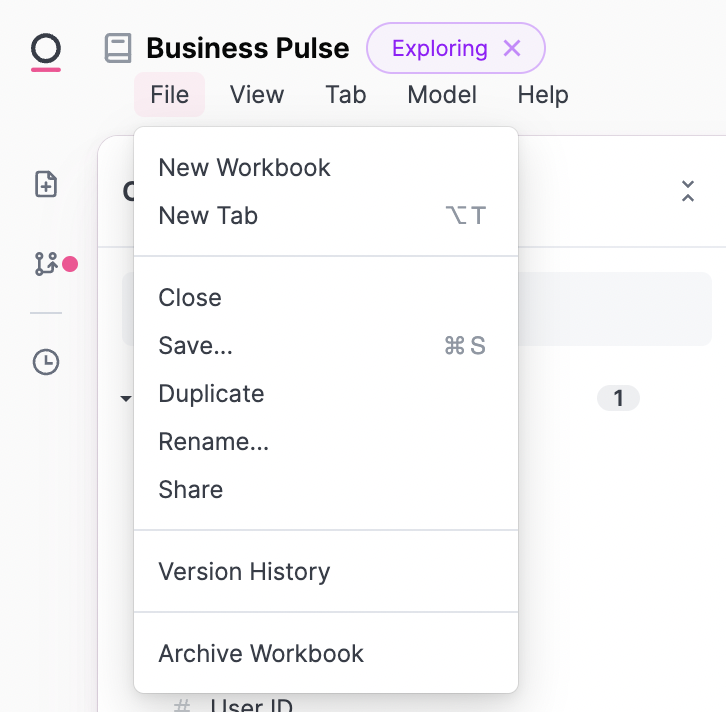
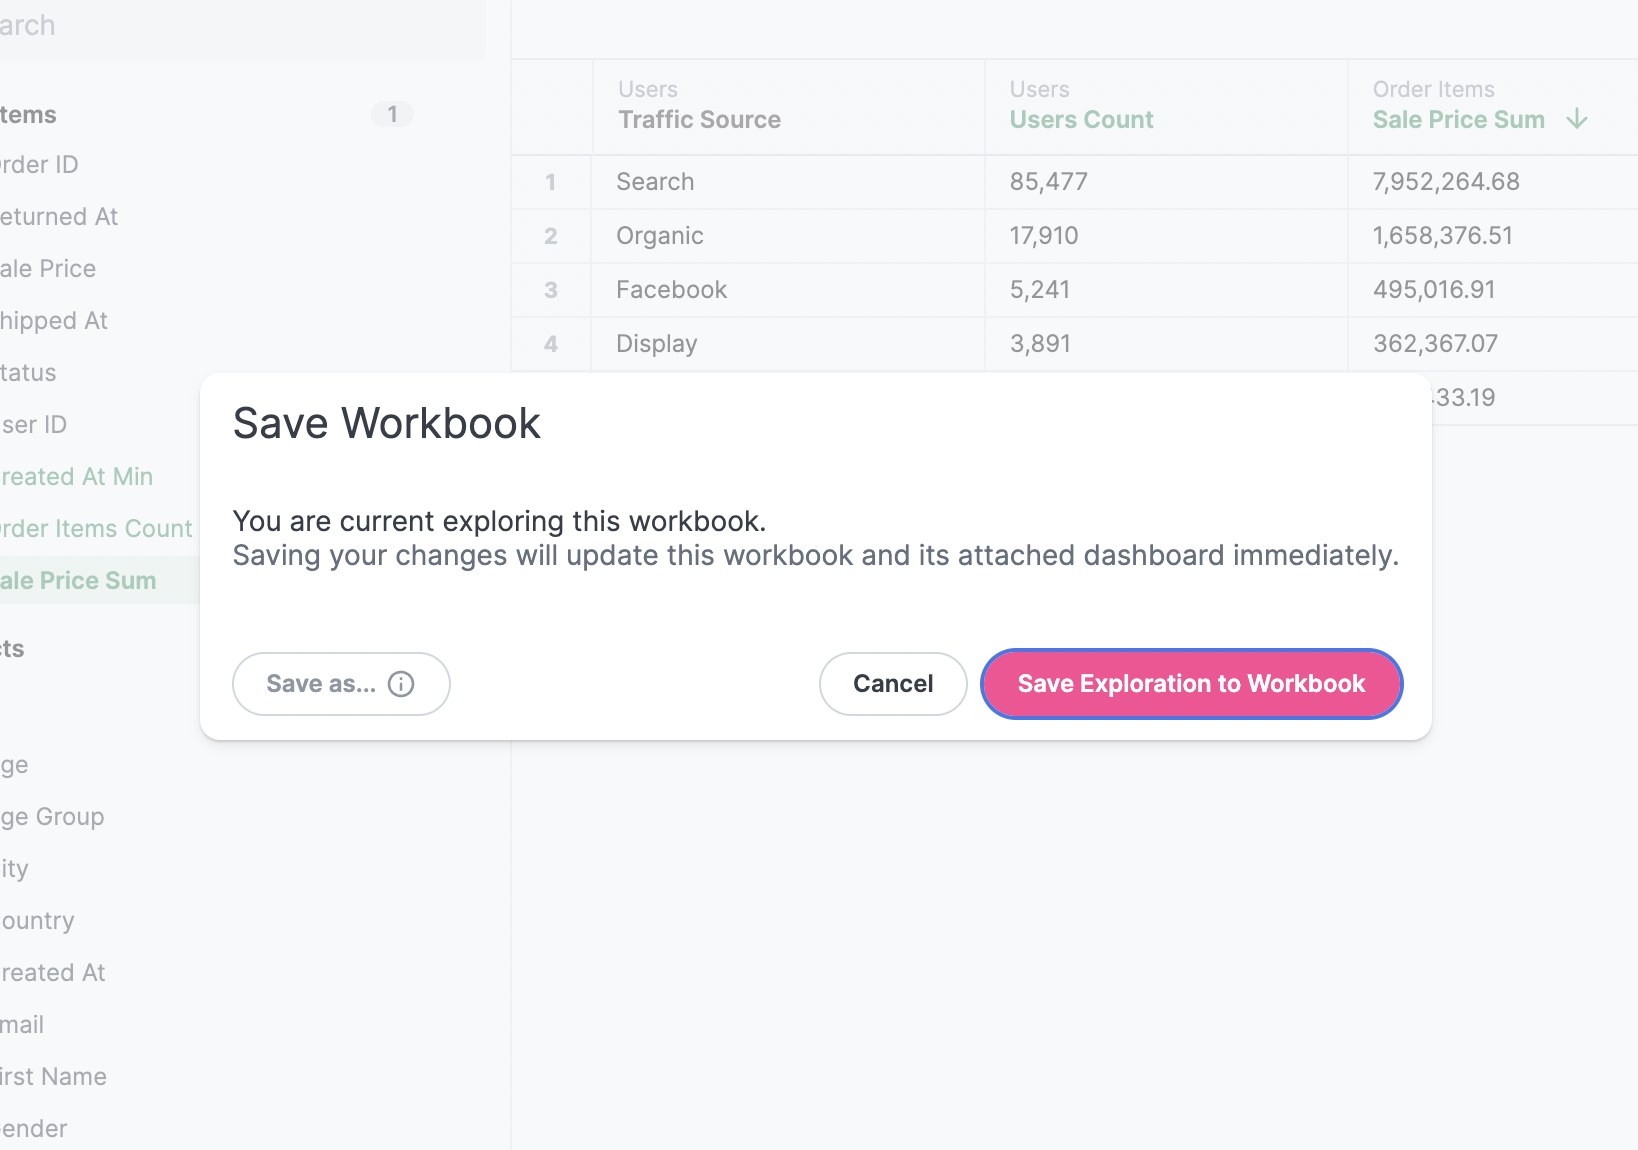
If you want to save your exploration, select Save from the file menu. This will add all current changes into the saved workbook.
You can also save changes to a new workbook by selecting ‘Save As…’.
Note that when you make any changes to the workbook, the changes will also be reflected on the dashboard associated to the workbook.
Moving Queries Between Workbooks
Workbook tabs can be duplicated inside workbooks, or moved to new or existing workbooks.
Copy Tab to New Workbook
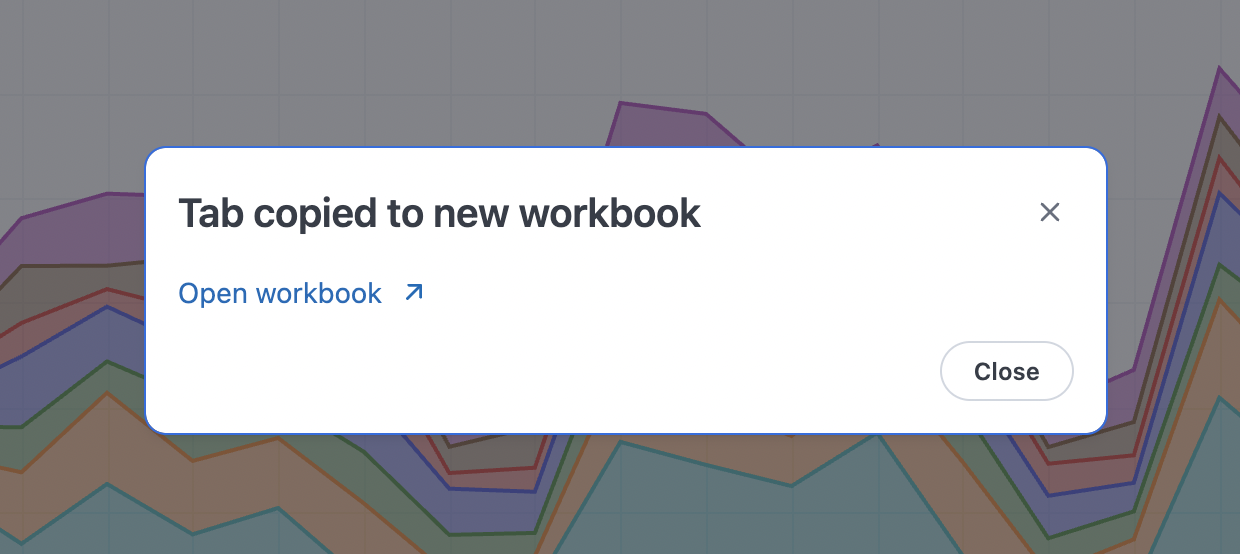
Right click on the tab and select 'Copy to new workbook.' This will create a new workbook and import the tab.
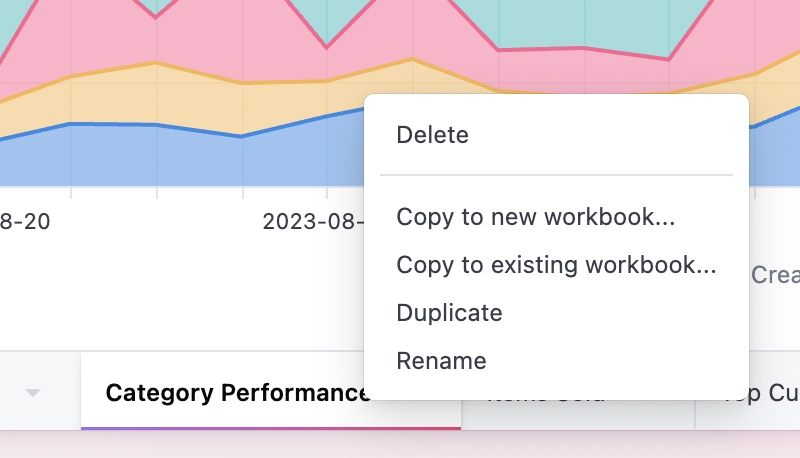
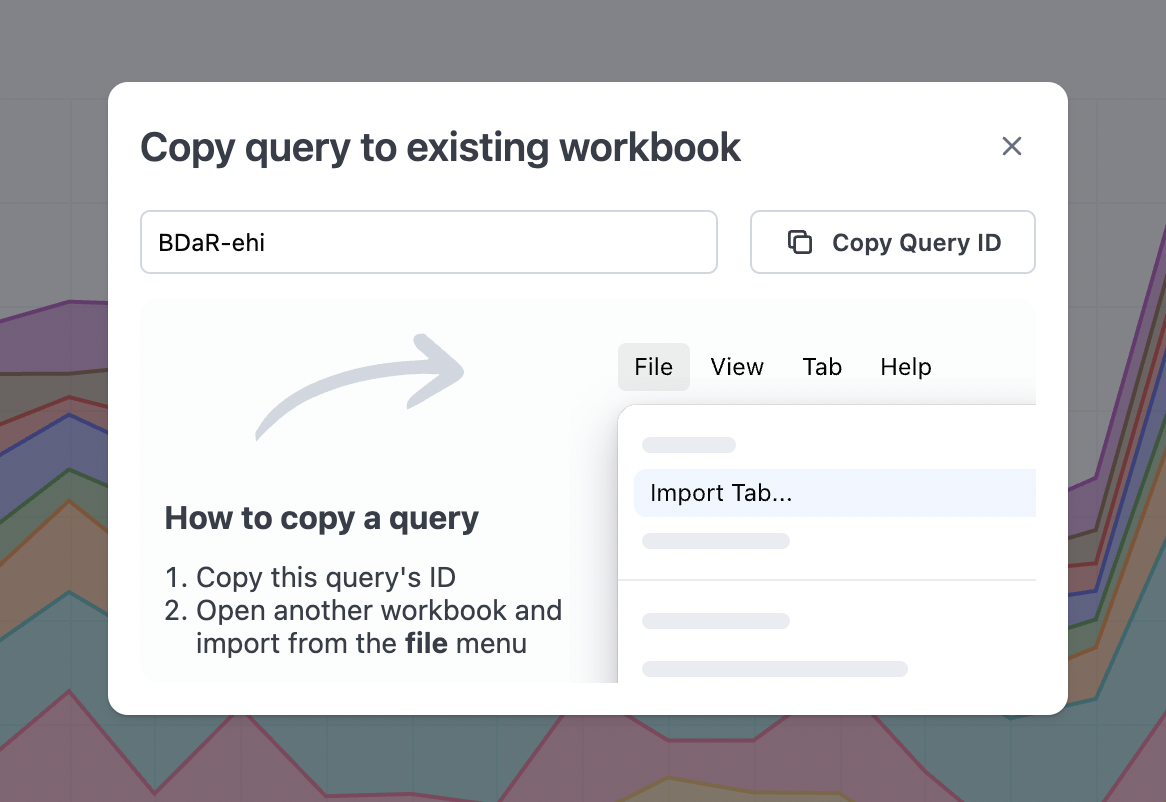
Copy Tab to Existing Workbook
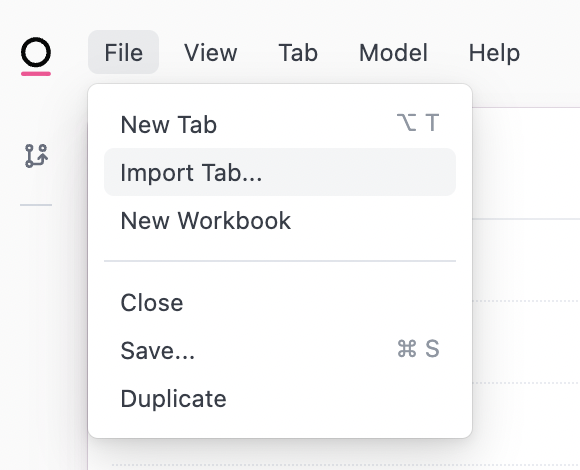
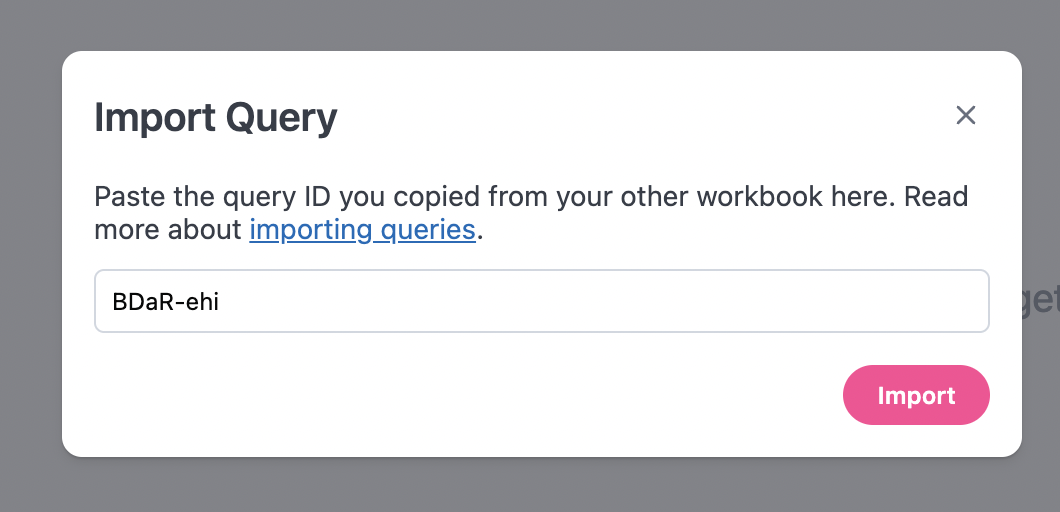
Right click on the tab and select 'Copy to existing workbook...' Copy the tab ID. In the workbook you want to copy into, select import from the file menu and paste in the tab ID.
Note there are a couple of caveats to copying to an existing workbook:
- A tab can only be copied to a workbook with the same connection and shared model
- If there are changes to the workbook model in the tab you are copying over, those will be copied into the existing workbook as well. In the event of a conflict (e.g. the same field exists on both workbooks with different definitions), the workbook copied to should win.